
Watch: How To Free Up Space On Photoshop So It Doesn’t Keep Lagging
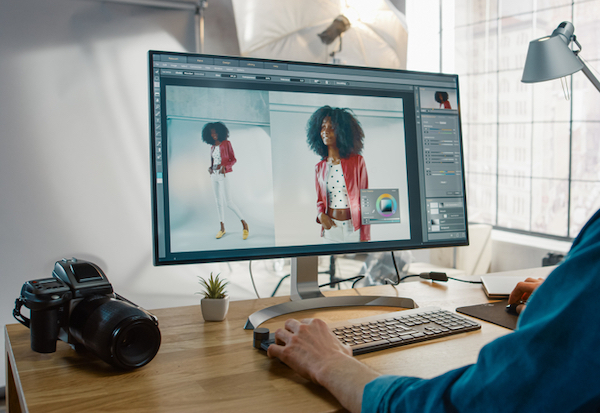
Image via Shutterstock
As much as it’s the industry’s choice for photo editing software, Adobe Photoshop doesn’t deliver the most seamless experience. Professionals have long pulled their hairs over how the app slows down, crashes, or even deletes their data, after prolonged use.
The obvious fix is to get a computer that can support higher-performance software, but it’s not always you’ll have a few thousands of dollars to spare. Instead, you can reduce the lag by freeing up unnecessary space stored by Photoshop each time you make a software upgrade.
As shared in a neat tutorial by DIYPhotography’s Udi Tirosh, every time you update your Photoshop software, Adobe carefully keeps a copy of the older version alongside your brushes, presets, and more. You can actually remove the previous versions and have more space to work with.
In his video and article, Tirosh shows how to access your AppData (or Application Support for Macs) folder to back up your necessary resources and erase unneeded versions of Photoshop.
Just to be safe, it’s important to keep the previous version and back up your brushes, presets, and other tools. Photoshop sometimes gets unpredictable and can flub things up.
If you use Photoshop regularly, find out how to speed up your computer in the tutorial by Tirosh found below. He has also previously explained how to do the same for Lightroom, which you can learn about here.
[via DIYPhotography, cover image via Shutterstock]
Also check out these recent news


