Watch: How To Create Your Own One-Click Presets On Adobe Lightroom
Video screenshot via PHLEARN
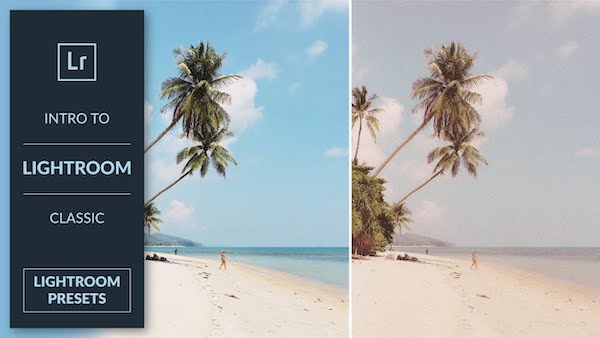
Presets are a great way to keep your photos or Instagram aesthetic consistent. If you haven’t found one that suits your look, the good news is you can easily create your own.
In this handy tutorial by PHLEARN’s Aaron Nace, you’ll learn how to produce one-click filters on Adobe Lightroom to significantly cut down your workload.
The ‘Develop’ tab is your best friend in this process. It’s where you set the groundwork for the preset—tweaking colors, lighting, contrast, and so on for future photos. Once you’re happy with the results, click the plus sign on the ‘Presets’ menu on the left, and select ‘Create Preset’.
You’ll then be shown a window with some fields and checkboxes indicating settings like exposure and texture. Just name your preset and tick the settings whose changes you made to earlier.
The new preset will appear under your ‘Presets’ menu, and you’ll be able to quickly apply it to any photo of your choosing.
The eight-minute video also shows you how to export your preset or import new ones. Check it out below.
[via Fstoppers, video and cover image via PHLEARN]
Also check out these recent news


Artificial Intelligence
